The first step to enabling the Learning Pathway is installing a file in your Blackboard course and then changing some course settings. Below are step-by-step instructions to guide you through the process.
- Download the Learning Pathway zip file. Save the file to a location on your computer.
-
Open the Blackboard course site where you would like to install the Learning Pathway.
-
In the Control Panel, expand the Packages and Utilities section and click Import Package/View Logs.
- Click Import Package, and then click Browse My Computer. Find and select the zip file you saved earlier.
- Scroll down and check the box for “Content Areas.”
- Click Submit at the bottom of thepage.
- You should receive a message stating, “Success: This action has been queued. An email will be sent when the process is complete.”
- Shortly, the Learning Pathway link will appear on the left menu of your course, but will be hidden by default.
After importing the Learning Pathway package, the first steps for basic configuration are to make sure it is named appropriately and moved to a satisfactory location in the course. Then, you will need to add content and assessment links to the pathway and to the timeline.
- With editing mode turned on, click the down arrow next to the Learning Pathway menu item and select Rename. Give the pathway an appropriate name for your course.
- Drag and drop the Learning Pathway menu item to the best location in your menu (usually above or below Learning Resources).
- If you would like the Learning Pathway to be the landing page for your course site, in the Control Panel of the course click on Customisation, then Teaching Style. Under Select Course Entry Point, choose the Learning Pathway from the drop-down menu.
- The first time you click on the Learning Pathway, a settings box will open. Enter the start and end dates for each week of your course. When you set Week 1, the other week’s date ranges will update automatically
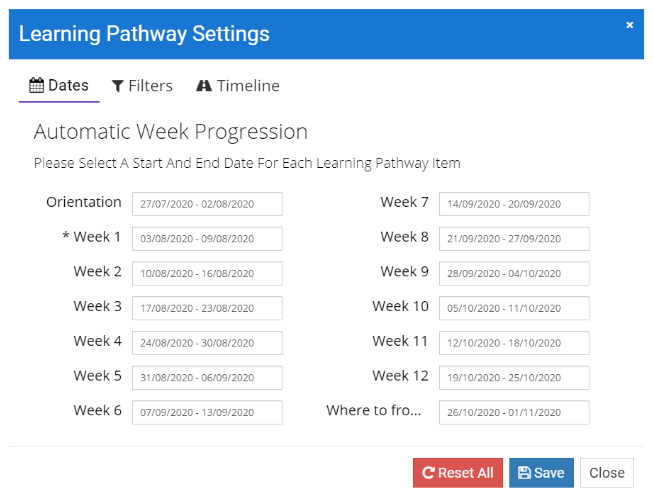
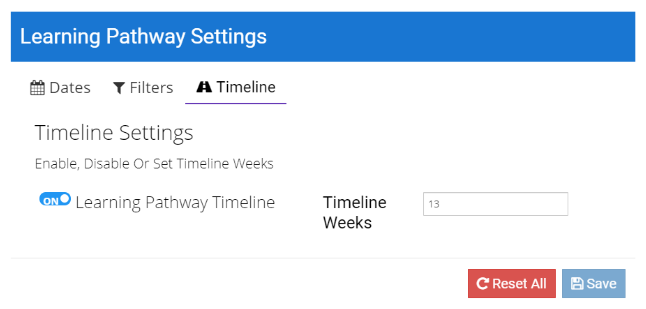
- If you need to edit the number of weeks displayed in the pathway, this is done by removing folders on the Learning Pathway page. If you need to remove weeks displayed in the timeline (below the pathway), click the Timeline tab and enter the number of weeks in your course. Click Save.
- If you need to edit these settings later on, there is a Settings button on the top right of the Learning Pathway
Note:The next step is to populate the folders that constitute the Learning Pathway. These folders should not be thought of as content folders but rather as place markers. Items in the Learning Pathway folders should only contain text or headings (using an Item), Web Links,or Links to the content in the existing course folders (e.g. Learning Resources, Assessment). Uploading content directly into Learning Pathway folders will slow down the initialisation process, utilise more network resources, and could cause crashes in larger courses.
Headings
- To create headings, start by opening the Week 1 folder and adding an Item containing each heading you would like to use for your pathway.
-
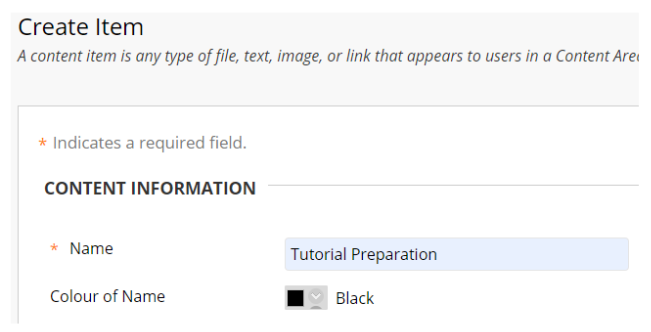
To add an item, click Build Content>Item. The Name field of the Item will become your heading, so there is no need to add text in the description.
- Click Submit.
- Headings might include “Tutorial Preparation,” or “Assessments”and by default the pathway includes “Need to know” and “Need to do.”
- Then, copy these headings into all subsequent weekly folders to maintain consistency week to week.
Course Links
- To create course links, open the weekly folder where you would like the link to appear in the Learning Pathway.
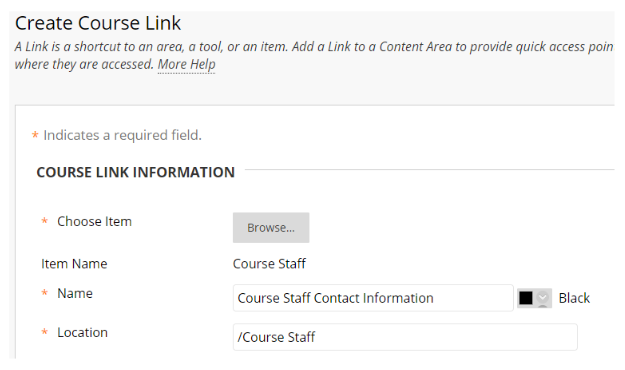
- To add a link, click Build Content>Course Link.
- Click Browse to find the item in your course you would like tolink to.This could include learning resources, discussion forums, assessment items, etc.
- Optionally, edit the name of the course link that will appear in the pathway (e.g. instead of “Discussion Board,”changethe title to, “Contribute to discussion forum 4 by Wednesday at 5pm”)
- Click Submit
Web Links
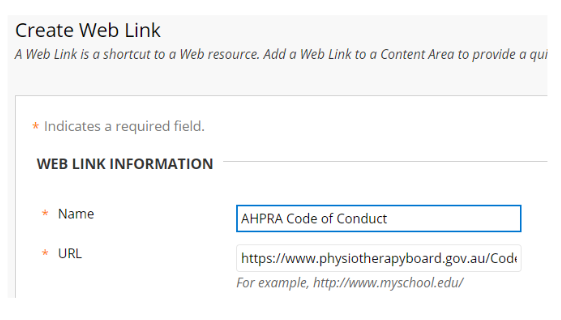
- To create web links, open the weekly folder where you would like the link to appear in the Learning Pathway.
- Give the link a name, and paste the link in the URL field.
- Click Submit.
Timeline Items
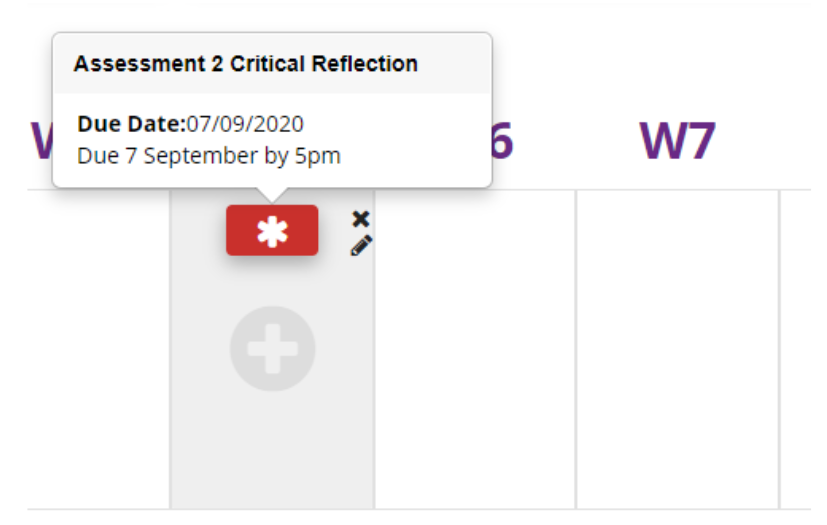
- To add an item to the timeline below the pathway, hover over a week and click the plus icon. Technicallythis is an “assessment”timeline, but you can add any learning activities you would like.
- Enter a name, description, and optionally a due date, weighting, and link. Check the Important box to turn the item red in the timeline.

- To add a link to an assessment or resource, you’ll need to copy that link in advance and then paste it in the link field.
- Select an icon; you’ll want to decide on standard icons for common items in your course so they remain consistent week to week.
- Click Add Assessment. When students hover over each item they will see the details you entered.